Health
Strategies for Container Gardening in Chicago
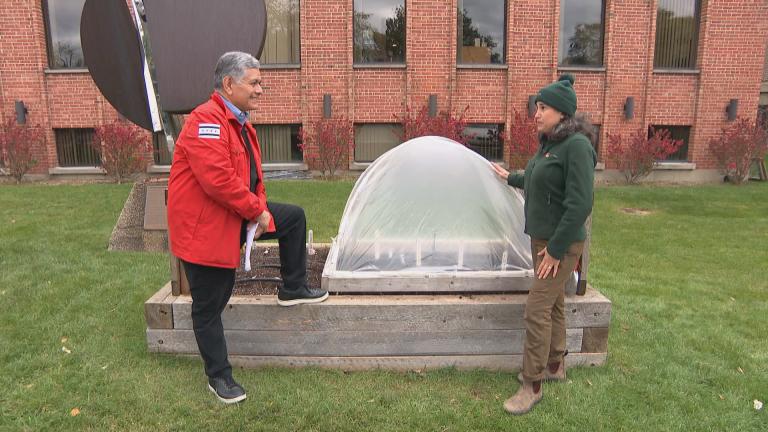
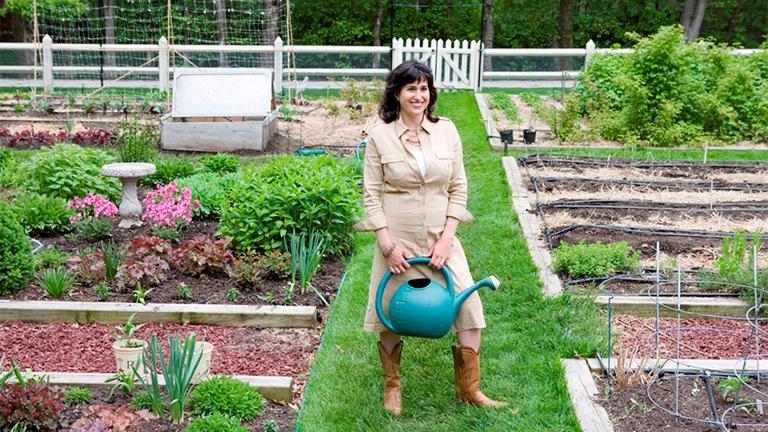
If you’re one of the many Chicagoans living in an apartment or condo with limited outdoor space, growing your own food can seem like a challenge – but, Jeanne Nolan says, anything you can grow in the ground can be grown in a container with just a few adjustments.
Find out how to create your own container garden as we unveil our small-space planters. We'll also check in on our cool-season plants and put in our warm-season plants for summer.
![]()
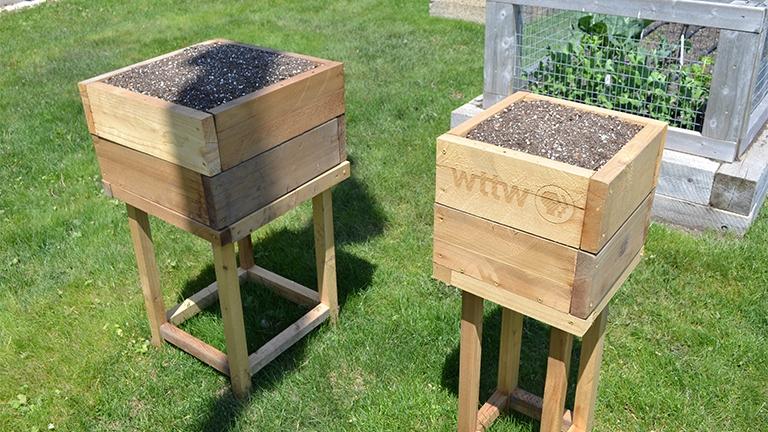
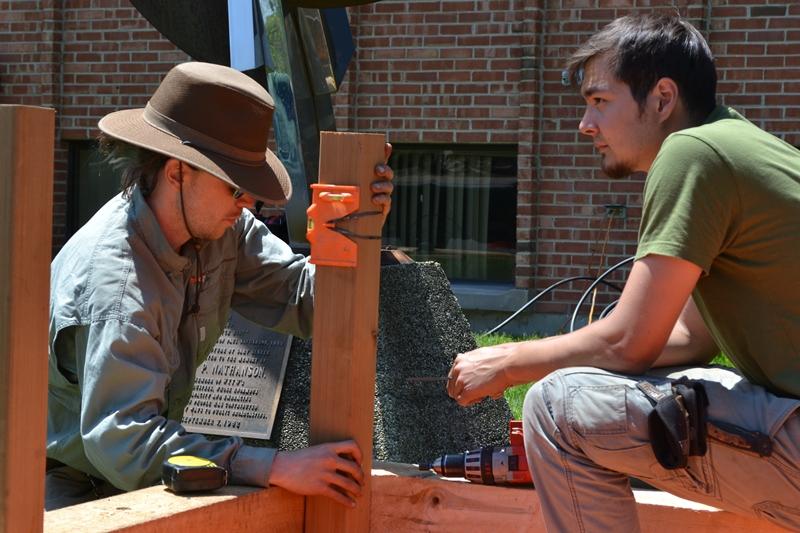
Below, step-by-step instructions for building the 12-inch garden planters featured in the video above. Click here to print out these instructions. Want to know which plants thrive in containers? Click here for more information.
Materials
- 1 – 2” x 6” x 8’ untreated cedar board*
- 1 – 1” x 4” x 8’ untreated cedar board*
- 22 – Exterior grade deck screws 2 1/2”
- 8 – Exterior grade deck screws 2”
- 1 bag of potting soil
*We reused scrap board from our garden builds. It’s great if you can reuse or recycle your lumber. It’s just important that it be untreated cedar so that chemicals from treated wood don’t leach into your soil.
Tools
- Tape measure
- Speed square
- Pencil
- Hand saw or circular saw
- Drill
- Impact driver (optional)
- Sander or sandpaper
- Rubber mallet or hammer
Step-by-step instructions
- Cut the 8’ 2” x 6” into eight pieces of equal length. If your board is a little longer than 8’, you can make them each exactly one foot long. If your board is exactly 8’, reduce the length to 11 15/16” to account for the width of the saw blade (kerf).
- Arrange the eight pieces into two squares on a level work bench or table top. Position the cut boards so that each one has one end exposed and one end covered by its neighbor, creating a square.
- Using a 1/8” drill bit, drill two pilot holes into each corner where the boards will join. You can achieve uniform position of screws by making a drill jig out of a scrap of wood and using it to mark all of your pilot holes.
- Proceed one corner at a time and hold the boards so that top and side edges are flush while you drive 2 1/2” screws into your pilot holes. When you finish this step you should have two squares of equal size.
- Now cut the 1” x 4” to make pieces for the bottom of the planter. You will need three, and if your sides were cut to exactly 12” in step 1, then your bottom pieces will each be 10 1/2”. Measure the inside dimension of one of the squares to get the exact length.
- Fit the bottom pieces into one of the squares. The fit will be snug, so use the mallet or hammer to tap them in. If you reduced the length of your sides in step 1, you may have to sand the long edge of one of your bottom pieces to make it fit. The goal is to have the bottom outer edge and the three bottom boards sitting flat on the level tabletop.
- Next, secure the bottom pieces to the outer edge of the planter. Drill pilot holes near the bottom of the square into the bottom pieces. Orient the holes parallel to the length of the bottom pieces - that is, with the grain. It is important to drill straight holes here, so if you’re not totally confident, make a few practice holes on a scrap piece. Drilling straight holes will prevent the screw tips from blowing through the wood. Make six pilot holes total, one for each board on two opposite sides. Secure the bottom with 2 1/2” screws.
- The remaining length of 1” x 4” is used to make corner pieces to connect the top and bottom squares. Cut four pieces to 8 1/2”. Stack the second square on top of the first. Rest a corner piece on the bottom with its side against the inside of the box. The top of the corner piece should be about 1 1/2” below the top of the box, so that it will be hidden when the planter is filled with soil. Moving one corner at a time, secure the corner piece to the inside of the planter with 2” screws. Using the shorter screws here will allow you to drill from the inside without blowing out the exterior.
- Flip the container upside down and drill five drainage holes in the bottom, in the pattern that you see when you roll a five on a die.
- Set the planter back upright. Choose a sunny spot that is protected from critters. Fill the planter with potting soil. Add seeds and water and watch your garden grow!
 Sign up for our morning newsletter to get all of our stories delivered to your mailbox each weekday.
Related 'Chicago Tonight' stories
 Cool-Weather Crops and Hot Reasons to Grow Your Own
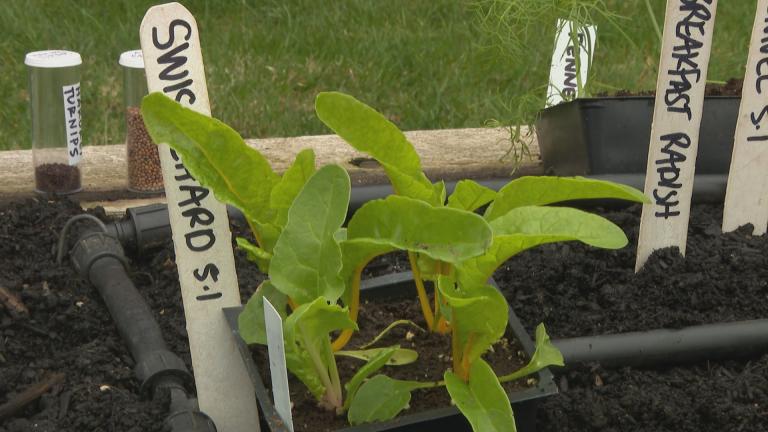
April 28: It’s time to start planting! The Organic Gardener Jeanne Nolan returns to WTTW's organic garden to plant cool-season crops selected by viewers and tackle an early flush of weeds. Also, we need your help picking the next round of crops to plant.
 WTTW Organic Garden Springs Back to Life
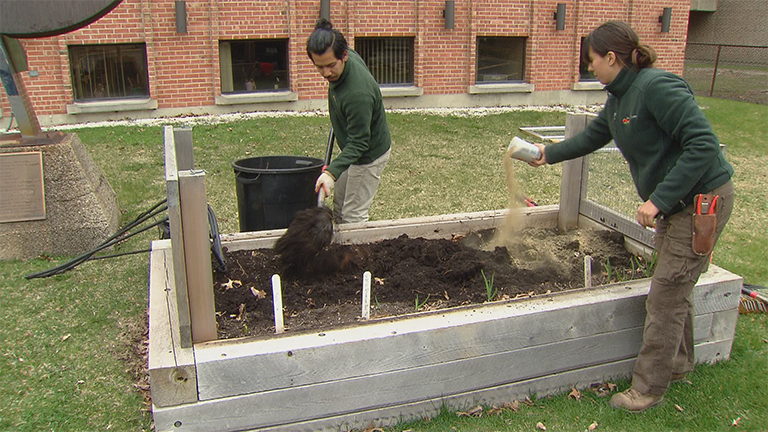
April 7: Winter’s (mostly) behind us and we’re ready to grow! It might not quite feel like it yet, but spring is here and it’s time to head back to the garden. The Organic Gardener Jeanne Nolan joins us to prepare WTTW’s organic garden for a fruitful growing season.
Not sure how to start your garden? With help from Jeanne Nolan and her team, we will guide you through the process from selecting a site for your garden to staking crops and everything in between.
Ask Jeanne Nolan and The Organic Gardener crew.